
Written by Chris Choi, Technical Sales Manager at MVS Lighting, with practical experience supporting overseas buyers on LED street lighting projects.
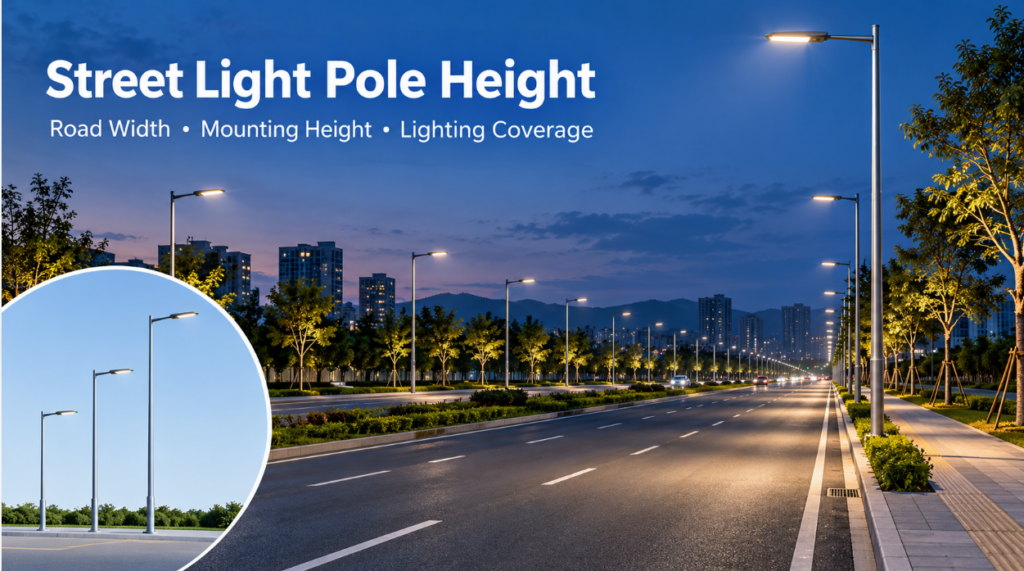
Street light pole height should be selected according to road width, traffic conditions, and required lighting coverage. As a practical starting point, 6m poles are commonly used for community and narrow roads, 8–10m poles for secondary and municipal roads, 10–12m poles for wider main roads, and 12–18m poles for highways or large infrastructure projects. But that range is a starting point for discussion, not a lookup answer — the height that actually works for a given road comes from a straightforward calculation based on road width, not from matching your project to the closest category in a table.
Why Pole Height Isn’t a Simple Lookup
Most guides online repeat some version of the same table: pick a road type, get a fixed pole height. The problem is that two roads both labeled “main road” can differ in width by several meters, and that difference matters more than the label does. A 12m-wide arterial and an 18m-wide arterial don’t need the same pole height just because they’re both classified as arterial roads.
The number that actually determines pole height is the road’s effective width — not its classification.
The Core Formula: Mounting Height vs. Effective Road Width
As a working rule, mounting height should generally be no less than 1.2 times the effective road width being lit from that pole. This is the starting point, not the final answer — it sets a floor, and the actual height gets refined from there based on wattage, optics, and glare control.
To make this concrete: a road with an 8m effective width points to a minimum mounting height of roughly 9.6m, which in practice usually rounds up to a standard 10m pole. A narrower 6m-wide section points to a minimum of about 7.2m, typically covered by a standard 8m pole. This is why two roads that look similar on a spec sheet can call for different standard pole heights once the actual width is checked.
Go shorter than this ratio and the fixture struggles to reach the far side of the road without excessive tilt or glare. Go taller than necessary and illuminance on the road surface drops off faster than expected, which usually means adding wattage or tightening pole spacing to compensate — both of which add cost without adding value.
Standard Pole Dimensions by Height
Once a target height is set, it needs to translate into an actual manufacturable pole — diameter, wall thickness, and base/flange specification all change with height to keep the pole structurally sound. For reference, here’s the dimensional range across our standard pole heights:
| Pole Height | Top / Base Diameter | Wall Thickness | Taper Ratio | Flange Plate & Bolt Circle | Foundation Frame |
|---|---|---|---|---|---|
| 6m | φ60 / φ126 mm | 2.75 mm | 11‰ | 250×250×10mm, 180mm bolt circle | 180×180mm, φ12 |
| 7m | φ60 / φ137 mm | 3.0 mm | 11‰ | 300×300×12mm, 210mm bolt circle | 210×210mm, φ16 |
| 8m | φ60 / φ148 mm | 3.0 mm | 11‰ | 300×300×14mm, 210mm bolt circle | 210×210mm, φ16 |
| 10m | φ70 / φ180 mm | 3.75 mm | 11‰ | 350×350×16mm, 250mm bolt circle | 250×250mm, φ18 |
| 12m | φ70 / φ202 mm | 3.75 mm | 11‰ | 400×400×18mm, 300mm bolt circle | 300×300mm, φ18 |
Wall thickness and base diameter both increase with height to handle the greater bending load a taller pole carries, particularly under wind loading — this is also why foundation frame size and bolt circle diameter scale up in parallel. If you’re specifying a custom height outside this standard range, these figures are a useful reference point for what a structurally sound design should look like, though final structural sign-off should always account for local wind loading conditions.
This wind-loading relationship also runs the other direction on projects in coastal or typhoon-prone regions: rather than pushing pole height as high as the road width formula suggests, it’s sometimes worth deliberately specifying a shorter pole paired with a thicker wall gauge, since wind load increases disproportionately with height and a shorter, sturdier pole can be the more resilient choice in extreme wind conditions. If you’re specifying for a high-wind site, flag this during the design stage rather than after foundation drawings are finalized.
Pole height is only one part of road lighting planning. Our LED street light guide provides a broader overview of fixture selection, road conditions and project planning.
How Pole Height Affects Road Lighting
Coverage becomes wider. A taller pole, paired with the right distribution type, spreads its light over a larger area of road — which is exactly why taller poles pair with wider roads.
Road-level brightness changes. Light traveling a longer distance from a higher-mounted fixture to the road surface needs more lumen output to maintain the same illuminance — height and wattage move together, not independently.
Glare doesn’t simply improve with height, and it doesn’t simply get worse either — the relationship runs the other direction from what most people assume. A pole that’s too short brings the light source closer to eye level for drivers, which increases perceived glare rather than reducing it. Adequate height, paired with proper shielding, is part of how glare gets controlled — not something a taller pole alone fixes, and not something a shorter pole makes safer. For the full picture on glare control, see our glare and light pollution guide.
Match Pole Height to Road Width
Narrow and community roads generally don’t need a tall pole — going taller than the width justifies just adds unnecessary spill light and energy cost without improving coverage.
Medium-width municipal roads need a height that balances coverage width against road-surface brightness — this is where the 1.2× formula earns its keep as a sanity check against whatever height a manufacturer’s standard catalog suggests.
Wide main roads generally need increased mounting height, but it’s worth explicitly checking whether the fixture’s distribution and wattage can actually reach the far lane at that height — a taller pole doesn’t automatically solve far-side coverage on its own.
Pole height should be evaluated together with wattage, optics and protection requirements when you choose LED street lights for a road project.
Pole Height and Street Light Wattage
Taller poles generally need higher useful lumen output to maintain the same road-surface brightness — but wattage shouldn’t be selected from height alone. Fixture efficiency varies enough between products that the same pole height can call for meaningfully different wattages depending on the optics and light source used. Two projects at the same 10m pole height, on roads of similar width, can end up specifying different wattages once the actual photometric target and fixture efficiency are factored in.
For a detailed comparison of lumen output and power ranges, see our LED street light wattage guide.
Pole Height and Pole Spacing
A taller pole can extend the longitudinal throw of a fixture, which sometimes allows wider spacing between poles — but height alone doesn’t determine spacing. Spacing depends on distribution type, layout pattern, and the uniformity target for the road, all considered together, not derived directly from height.
You’ll sometimes see spacing estimated as roughly 2.5–3 times pole height, used as a quick rule of thumb in the opposite direction from the width-based formula above. Both are valid starting points, just approaching the problem from different ends — width-first if you’re sizing the pole, height-first if you’re roughing out spacing before a full layout is ready. Either way, treat it as a starting estimate rather than a final number.
Use a separate street light pole spacing calculation to determine the distance between poles after the mounting height has been selected.
Pole Height and Road Layout
How poles are arranged changes how much road width each individual fixture is responsible for covering, which feeds back into the height decision.
In a single-sided layout, each fixture needs to reach across the full road width on its own, from one side. In staggered or opposite layouts, coverage is split between fixtures on both sides, which can ease the height and wattage burden on any single pole compared to a single-sided approach on the same road.
Compare the main street light layout types before finalizing the pole position and mounting height.
Pole Height for Highway Projects
Highways generally call for taller poles — wider carriageways and higher vehicle speeds both push toward greater mounting height and more continuous coverage than a standard municipal road needs.
But height alone doesn’t make a highway lighting design work. Distribution type, uniformity, glare control, pole spacing, and maintenance access all need to come together for a highway-grade result — pole height is one input among several, not the deciding factor on its own.
Projects involving expressways or multi-lane roads should follow a dedicated highway LED street lighting design approach.
How to Confirm the Pole Height
Check the actual road width. Confirm total road width, number of lanes, and the effective area that actually needs to be lit — not just the road’s general classification.
Check the mounting position. Confirm whether poles sit at the road edge, in a median strip, or elsewhere, since this changes the effective throw distance the fixture needs to cover.
Verify the result with a lighting simulation. Running the fixture’s IES file through a DIALux (or equivalent) simulation confirms whether the selected height, combined with the chosen fixture and layout, actually delivers the required coverage and uniformity — rather than relying on the formula alone. We won’t walk through the full simulation workflow here; see our road lighting design guide for how this step fits into the overall design process.
Common Pole Height Mistakes
Selecting height by wattage alone. A given wattage doesn’t correspond to one fixed pole height — the right pairing depends on road width, fixture efficiency, and target illuminance together.
Using taller poles for every road. Defaulting to a taller pole “to be safe” often means unnecessary spill light, higher energy use, and added cost without a real gain in performance.
Ignoring road width and pole position in favor of an industry table. A generic height table is a starting point for discussion, not a substitute for checking the project’s actual road parameters.
Copying another project’s pole height directly. A height that worked well on one road doesn’t transfer automatically to another — road width, fixture, and layout all need to be checked again, even when the road looks similar at a glance.
Choose the Right Pole Height
A suitable street light pole height should match the road width and required coverage. In general, 6m poles suit narrow roads, 8–10m poles suit common municipal roads, 10–12m poles suit wider main roads, and 12–18m poles may be considered for highways. The final height should be checked against the road’s actual effective width using the 1.2× formula, then confirmed together with lumen output, optics, and a lighting simulation.
After determining the suitable mounting height, review our LED streetlight series for project-grade fixtures covering different wattages, lumen outputs and road lighting optics.
Need help confirming the right pole height for your road project? Send MVS Lighting the road width, road length, number of lanes, planned pole position and target lighting requirements. Our team can recommend a suitable mounting height, fixture wattage and optical distribution, supported by IES files and a DIALux lighting proposal.
[Request a Lighting Proposal] [Send Your Road Parameters]