
Written by Chris Choi, Technical Sales Manager at MVS Lighting, with practical experience supporting overseas buyers on LED street lighting projects.
In practice, most people asking about a street light lead with wattage or lumens, not lux — lux is more of a background concept that quietly determines whether those numbers are actually enough. This guide is meant as general background: roughly what lux and luminance mean, roughly what range different roads tend to fall into, and why road lighting design leans on a couple of other metrics you won’t see mentioned nearly as often. Treat the ranges below as a starting point for understanding, not a number to specify a project against — actual targets should always be confirmed against the applicable local standard.
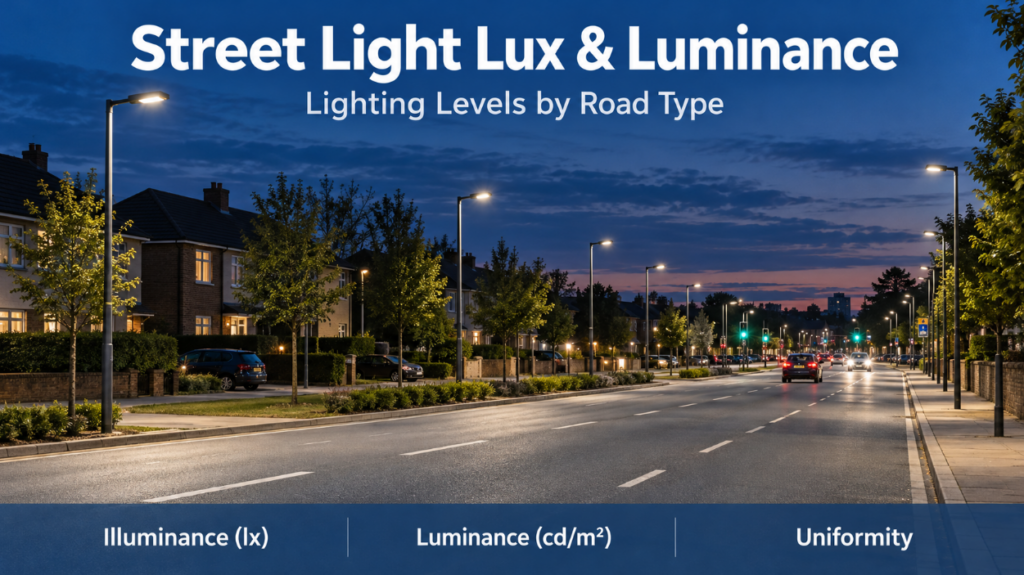
Street Light Lux Levels by Road Type — A Rough Starting Point
| Road Type | Approximate Lux Range | Main Users | Main Concern |
|---|---|---|---|
| Residential / local roads | Low | Pedestrians, low-speed traffic | Comfort, minimal disturbance to residents |
| Secondary / collector roads | Low-medium | Mixed traffic, moderate speed | Visibility and consistency |
| Main urban roads | Medium-high | Higher-speed vehicle traffic | Visibility without over-lighting |
| Intersections / conflict areas | Higher | Vehicles, pedestrians, cyclists mixing | Clear visual identification of hazards |
These are deliberately described in relative terms rather than fixed numbers — different standards bodies (EN 13201 in Europe, IES RP-8 in North America, and various national and municipal codes elsewhere) don’t always agree on exact figures for a given road type, so a single global lux number would be misleading more often than it would be helpful. As a general pattern, though, lighting level rises with road class and traffic complexity, then rises again sharply at intersections and other conflict points where visual identification matters most.
For a broader overview of road lighting planning and fixture selection, see our LED street light guide.
Lux vs. Luminance in Road Lighting
These two terms get used almost interchangeably in casual conversation, but they measure different things.
Lux (illuminance) measures how much light actually lands on a surface — it’s a straightforward, easy-to-measure quantity, and it’s what most non-specialists mean when they say “brightness.”
Luminance (cd/m²) measures how bright a surface appears to an observer — in road lighting, specifically how bright the road surface appears to a driver looking down it. It depends not just on how much light hits the road, but on the road surface’s own reflective properties and the angle it’s being viewed from.
Both have a place in road lighting, and which one a project leans on depends on context: pedestrian areas, low-speed local roads, and conflict zones are often evaluated primarily by illuminance, since there’s no single dominant viewing direction the way there is on a straight vehicle road. Vehicle roads, by contrast, are frequently evaluated by luminance, since that’s closer to what a driver is actually experiencing at speed. Which metric a given project actually needs to hit comes down to the applicable standard, not a fixed rule.
Why Average Lux Isn’t the Whole Story
A lighting report rarely stops at a single “average lux” figure, and it’s worth knowing why.
Average illuminance describes the overall lighting level across the whole area being calculated — useful as a summary number, but it can hide a lot.
Minimum illuminance flags the darkest point in that same area. A road can have a perfectly reasonable average while still having a noticeably dark patch between poles — minimum illuminance is what catches that.
Uniformity describes how evenly light is spread across the road, rather than how bright it is on average. Poor uniformity produces the “zebra crossing” effect — alternating bright and dark bands along the road — which causes visual fatigue for drivers even when the average number on paper looks fine.
This is really the underlying reason lux alone doesn’t tell the full story: two roads can report the same average lux and look completely different to drive down, because one has consistent coverage and the other has gaps.
What Changes the Required Light Level
Road type and traffic conditions — higher speeds and higher traffic volumes generally call for higher, more consistent lighting.
Pedestrians and conflict areas — anywhere vehicles, cyclists, and pedestrians mix, visual identification becomes more demanding, which tends to push lighting requirements up regardless of the road’s general classification.
Road surface condition — the same fixture output looks different depending on what it’s reflecting off. A worn asphalt surface and a newer concrete surface don’t return the same amount of light to a driver’s eye, which is part of why luminance-based standards exist in the first place.
Local requirements — different countries, cities, and individual project specifications can set different targets even for roads that look similar on paper. None of the ranges in this article override a project’s actual applicable standard.
Required light levels should be evaluated together with wattage, optics, pole height and protection requirements when you choose LED street lights for a road project.
How to Read a Lighting Calculation
If you’ve been handed a lighting simulation report and aren’t sure what you’re looking at, here’s roughly what each part tells you.
Average and minimum lux — the summary brightness level, and the darkest point the design still needs to cover.
Luminance results — for vehicle road projects, you may see a separate cd/m² figure alongside the lux numbers; this is the value that reflects driver-perceived brightness rather than raw light output.
Uniformity results — even when average lux clears the target, a low uniformity ratio can still mean noticeable dark patches in practice.
Glare and other results — a full report may include additional figures like glare rating; we won’t get into those here, but they’re part of why “just check the lux” isn’t quite the full evaluation.
Confirm Lux Levels With a Lighting Simulation
A generic lux table like the one earlier in this article is genuinely useful for a first conversation — it gives everyone a shared sense of scale before diving into a specific project. It isn’t, on its own, a design.
An actual simulation needs the real road width, pole height, pole position, and the fixture’s IES photometric file, and it compares the result against the project’s actual illuminance, luminance, and uniformity targets — not a general reference range. Follow our complete road lighting design guide to see how road data, fixture selection and simulation verification work together.
Lux Levels and Street Light Quantity
It’s a common instinct to assume more fixtures simply means more light and therefore a better result — but adding fixtures without checking spacing and layout can just as easily create over-lighting, extra glare, and unnecessary cost. Fixture quantity depends on spacing and arrangement as much as it depends on a target lux number. To estimate the required fixture quantity for a specific project, use our guide on how many street lights are needed for a road.
Check the Applicable Lighting Standard
Every range in this article is a general reference, not a specification — treat it as background for understanding the topic, not as a number to hand to a contractor. Different road classes carry different formal requirements, and for projects following the European framework, our EN 13201 road lighting standards guide covers how road class determines the actual performance criteria.
Common Lux Level Mistakes
Using one lux target for every road. Different road types and contexts call for different levels — there’s no single number that fits a whole city.
Checking average lux only. A passing average doesn’t rule out dark patches; minimum illuminance and uniformity matter just as much.
Ignoring luminance and uniformity on vehicle roads. For roads evaluated under a luminance-based standard, illuminance alone doesn’t tell you whether the design will actually pass.
Treating reference ranges as fixed standards. The numbers in articles like this one — ours included — are a starting point for understanding, not a substitute for the applicable local requirement.
Increasing wattage without simulation. More output doesn’t automatically fix a lighting problem, and it can just as easily create glare or waste energy if the underlying spacing or layout issue isn’t addressed.
Set the Right Road Lighting Target
As a general pattern: residential and low-traffic roads sit at the lower end of the lighting range, main roads and intersections sit progressively higher, and vehicle roads in particular are usually judged on more than just an average lux figure — luminance, minimum illuminance, and uniformity all factor into whether a design actually works in practice.
After getting a general sense of the lighting level your project needs, review our LED streetlight series for project-grade fixtures supported by IES files and lighting simulations.
Need help confirming the lighting level for your road project? Send MVS Lighting the road type, road width, number of lanes, pole height and applicable lighting standard. Our team can recommend a suitable fixture configuration and provide the corresponding IES files and a lighting simulation proposal.
[Request a Lighting Proposal] [Send Your Road Parameters]