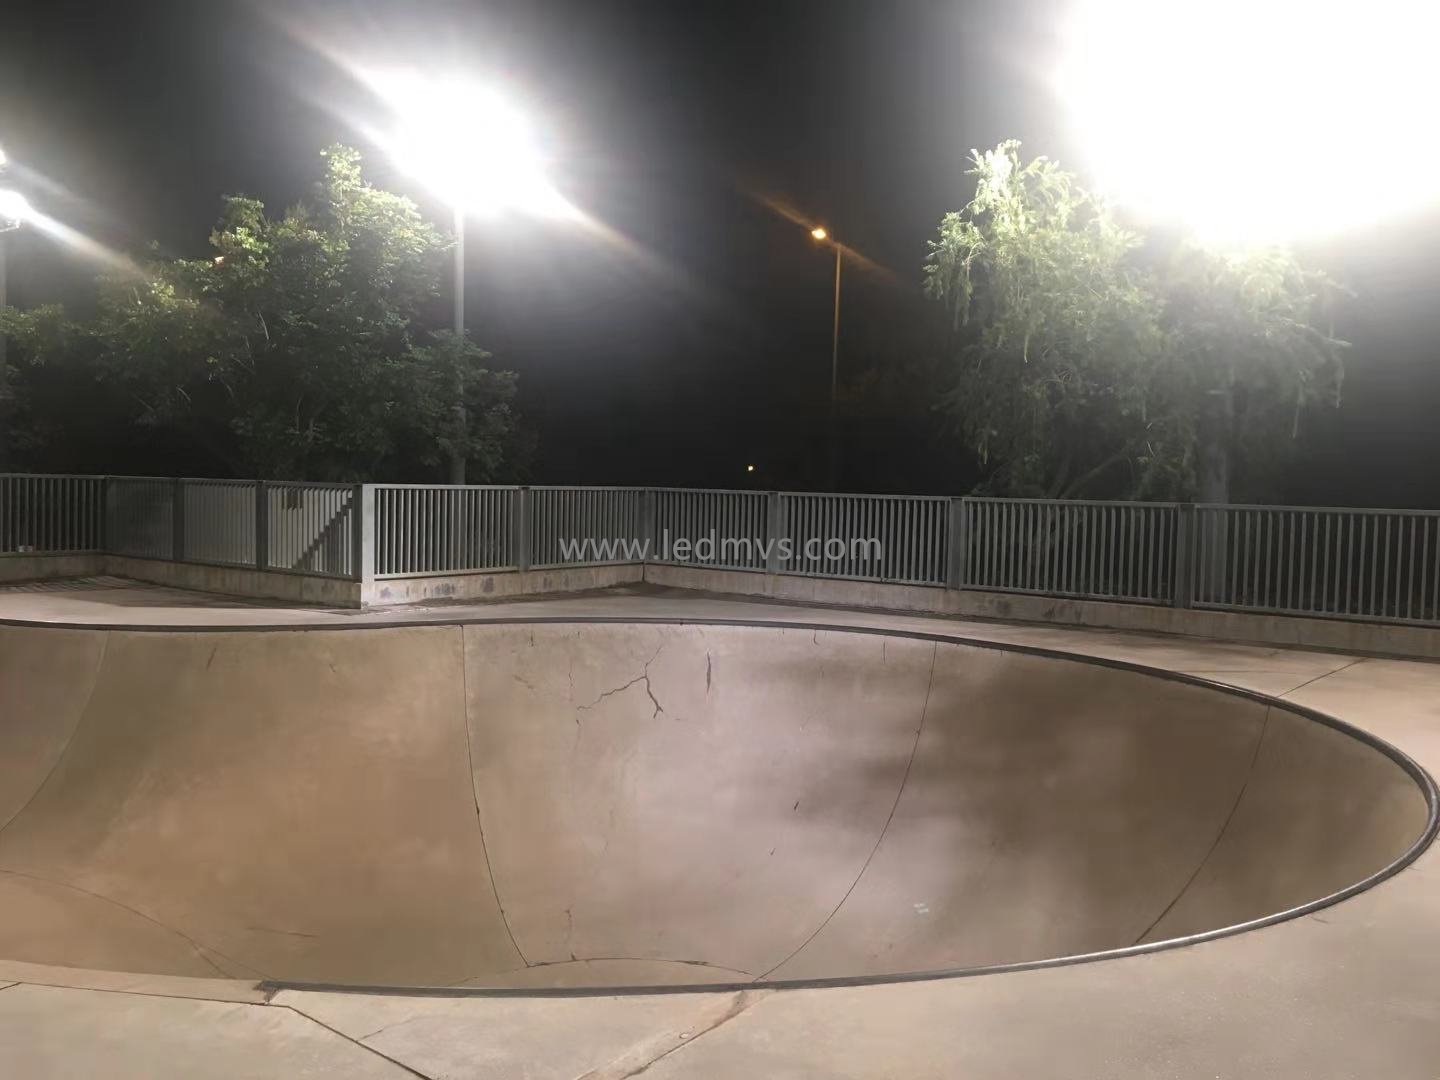
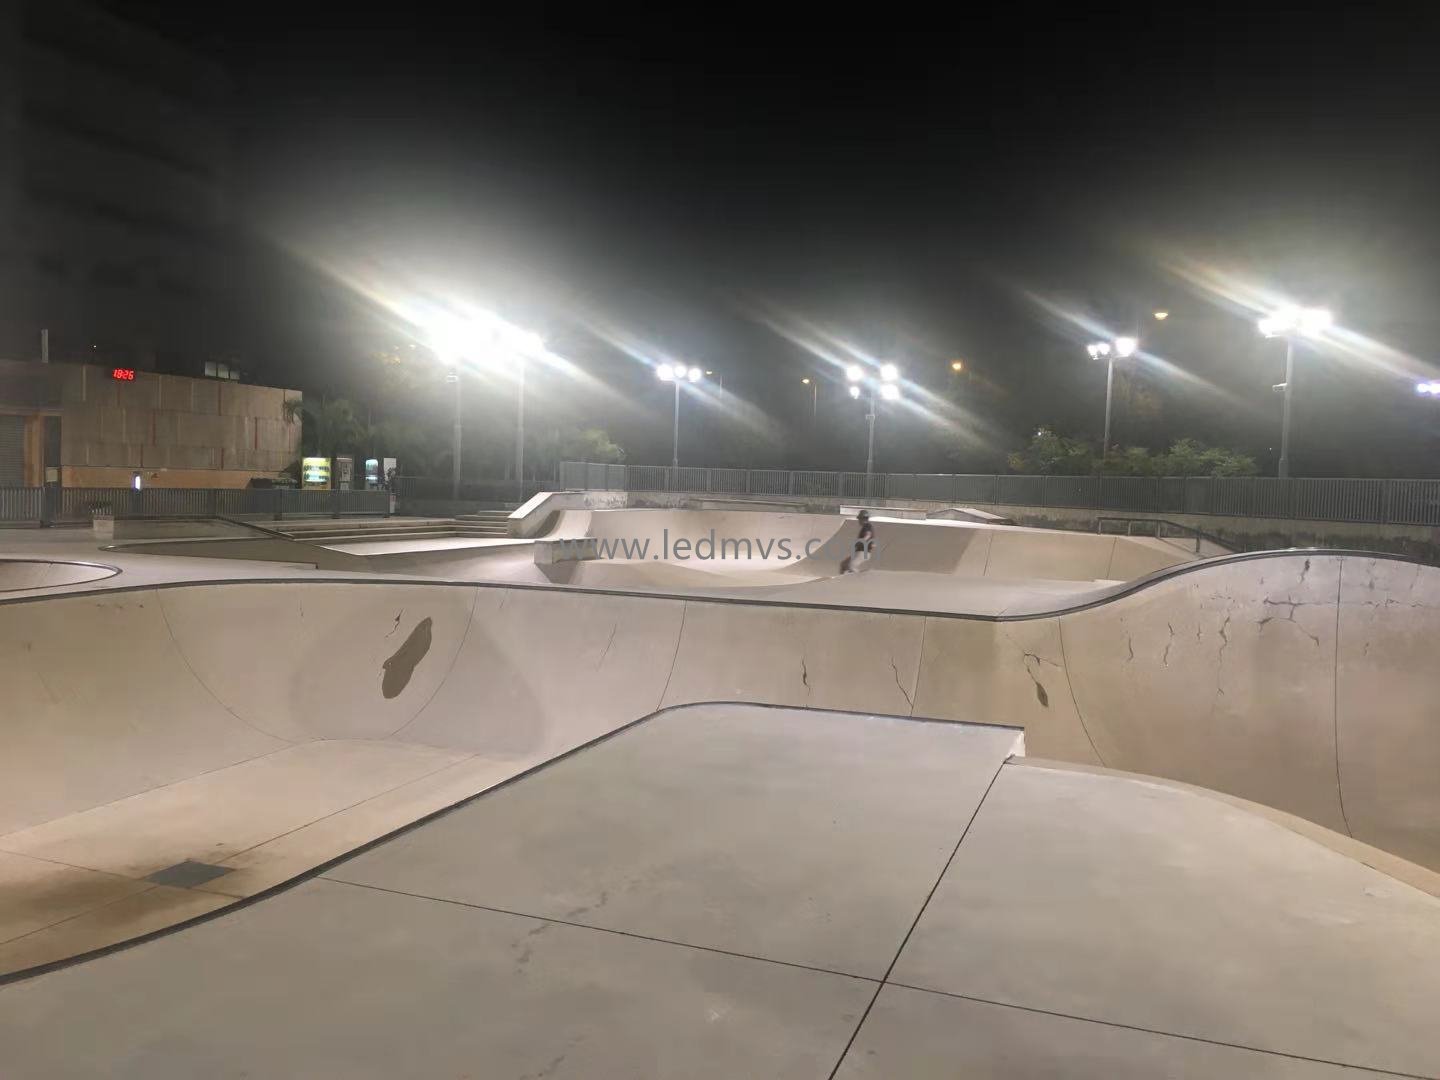
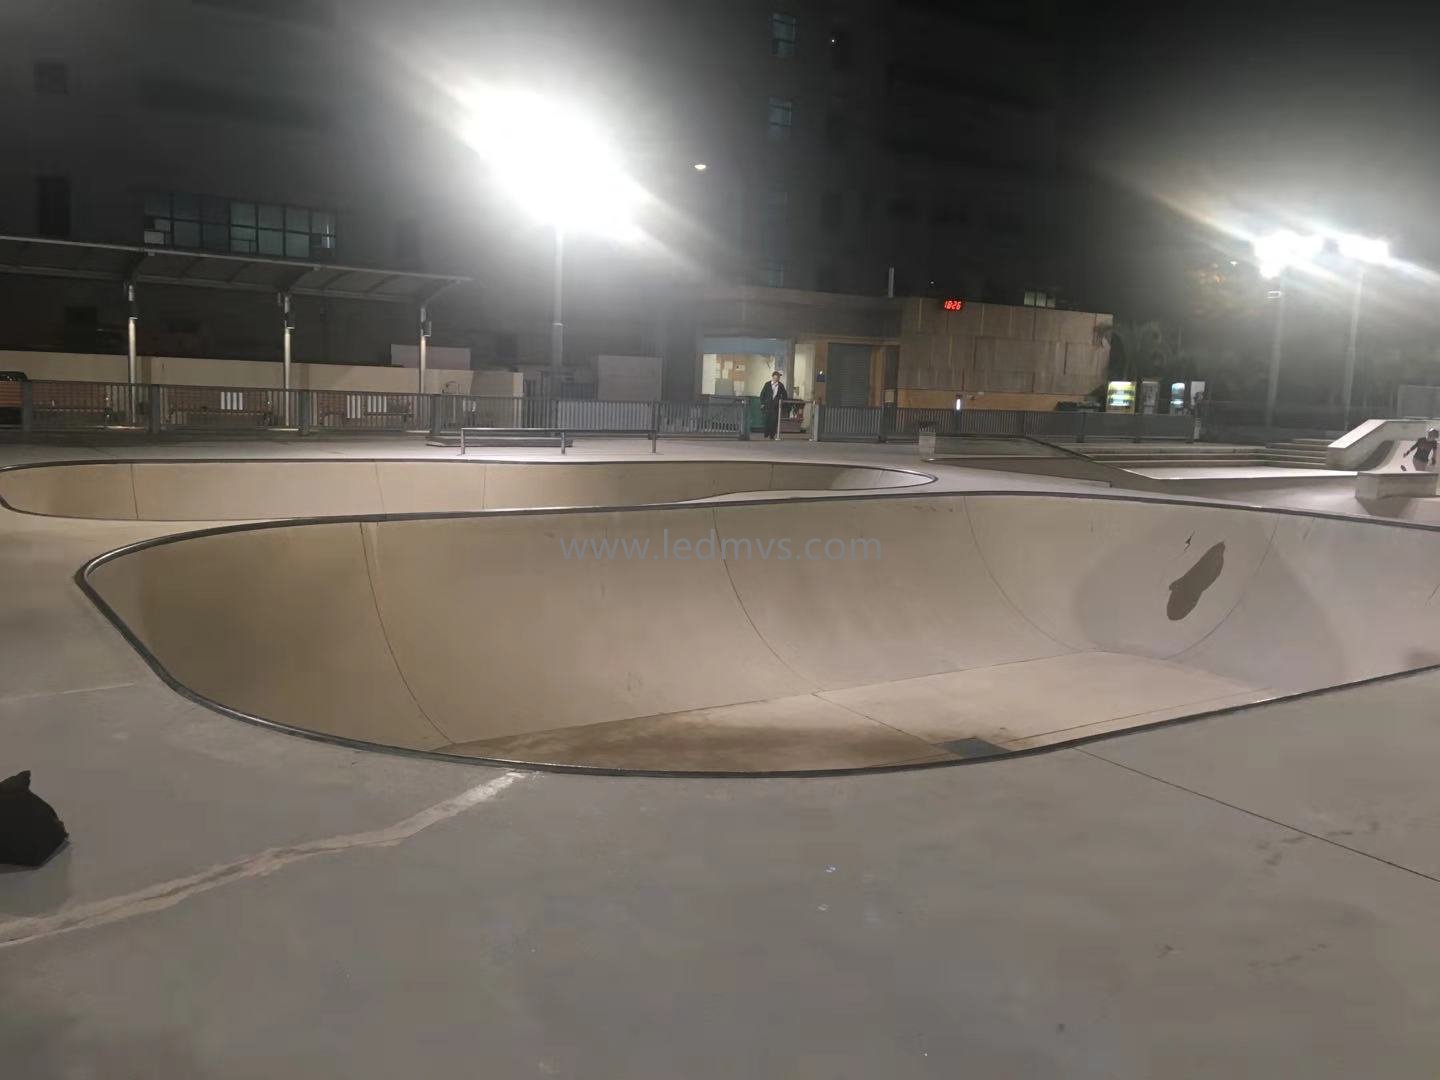
Skatepark lighting must reveal changes in surface height, ramp edges, rails and landing zones without creating deep shadows or direct glare. Pole positions and beam angles must be planned around actual riding lines rather than treating the park as one flat open area.
MVS supplies IP65 and IK10 LED floodlights with flexible optical distributions, optional scheduled dimming and a 5-year warranty. IES files and DIALux simulations are available to help project teams review coverage, shadow control and fixture placement before installation.
Skateparks contain curved surfaces, sudden level changes and multiple riding directions. A suitable lighting plan must reveal these features clearly without creating harsh shadows or distracting glare.
Riders must recognise transitions between flat areas, ramps, bowls and ledges. Lighting should make surface height and direction changes visible before riders enter each feature.
Ramps and bowl walls can block light from a single direction. Overlapping distributions help reduce dark areas behind vertical features and around landing zones.
Riders approach obstacles from several directions and may look upward during jumps. Pole positions and aiming angles should avoid placing intense light directly in common riding sightlines.
Outdoor luminaires may face rain, dust, vibration and accidental impact. IP65 and IK10 protection provide a practical baseline for exposed skatepark installations.
The layout should be based on actual ramps, bowls, rails, approach paths and landing zones. Using only the park’s overall length and width can leave important riding areas poorly illuminated.
Fixture placement and optical distribution should follow the park’s riding zones, surface geometry and approach directions. Different park features require different lighting priorities.
Poles should avoid circulation paths, approach zones and likely collision points.
Light from several directions helps reduce shadows behind ramps and bowl walls.
A practical baseline for weather exposure and accidental ball or equipment impact.
| Skatepark Zone | Main Visibility Need | Lighting Approach | Common Design Risk |
|---|---|---|---|
| Flat Areas and Plazas | Clear general visibility across open riding and gathering areas. | Broad, overlapping distributions for consistent horizontal coverage. | Excessive brightness near poles with darker central areas. |
| Ramps and Quarter Pipes | Visibility of ramp faces, upper edges, transitions and landing points. | Light from more than one direction to reveal vertical and curved surfaces. | Deep shadows behind the ramp or glare near the rider’s approach direction. |
| Bowls and Depressed Areas | Clear visibility at the bottom, sides and exit points of the bowl. | Carefully aimed distributions that reach below the surrounding ground level. | Bowl walls blocking light and leaving the lower riding surface dark. |
| Rails, Ledges and Stairs | Definition of narrow obstacles, edges and changes in surface height. | Cross-lighting that improves contrast without creating harsh shadows. | Obstacle edges becoming difficult to recognise from one riding direction. |
| Entrances and Circulation | Safe movement between riding areas, seating and access points. | Lower-intensity general lighting coordinated with the main park system. | Sudden brightness changes between circulation and riding areas. |
Planning note: Final fixture quantity, power and aiming positions should be verified from the skatepark drawing, pole locations, operating hours and the required illumination standard.
MVS reviews the actual skatepark layout before recommending fixture wattages, optical distributions and mounting positions.
Ramps, bowls, rails, stairs and changes in surface height are marked so important riding features are included in the calculation.
Available mounting points are checked against riding paths, safety clearances, spectator areas and maintenance access.
Light is planned from several directions where necessary to reduce shadows behind ramps, walls and other elevated features.
Fixture aiming is reviewed to limit glare along common approach directions and unnecessary light outside the skatepark.
Provide the skatepark drawing, dimensions, feature heights, available pole positions, target lighting level, supply voltage and operating schedule. Photos or marked site plans can help clarify existing installation conditions.
Practical answers for municipalities, contractors and project buyers planning lighting for outdoor skateparks.
Skateparks contain ramps, bowls, rails and surfaces at different heights. These structures can block light and create hidden areas, so the lighting layout must follow the actual park geometry rather than only its overall length and width.
Poles should remain outside active riding paths, approach areas and likely collision zones. Their positions must also support maintenance access while allowing fixtures to cover important ramps, bowls and landing areas.
Using overlapping light from more than one direction can reduce shadows created by elevated or curved structures. A DIALux simulation can help identify areas where ramps or bowl walls block the main light path.
Glare can be reduced by keeping fixtures outside common approach sightlines, selecting controlled beam distributions and adjusting aiming angles. The design should consider that riders may approach the same obstacle from several directions.
IP65 and IK10 provide a practical baseline for fixtures exposed to rain, dust and accidental impact. The final protection requirement should be confirmed according to the installation position and local project specification.
Yes. Timer-based operation, DALI or 0–10V dimming can reduce output during low-use periods and switch the system off after closing time. The required control method should be confirmed before selecting drivers and wiring.
Yes. MVS can prepare a DIALux simulation and provide IES files based on the park drawing, feature heights, pole locations and target lighting level. This helps review coverage, shadows and fixture aiming before installation.
Compare MVS LED floodlights for skateparks and outdoor recreation areas, including multiple wattages, flexible optical distributions and scheduled control options. The final model should be selected from the park geometry, pole height and required coverage.
Compare another large outdoor recreation application or return to the main sport lighting category.
Explore long-distance outdoor lighting with zone-based optics, controlled glare and spill-light management.
View golf lighting →Return to the main category to compare lighting solutions for sports fields, courts and recreation facilities.
Explore sport lighting →MVS Lighting
Professional LED Outdoor Lighting Supplier
Reply within 2 hours
Need LED lighting for your project?
WhatsApp Us
Online | Privacy policy
Get Quote on WhatsApp